
Halloween Plates
I bought some plates at thrift stores. I only used the green and yellow plates for this project. The yellow ones worked especially well with this project because of the rings around the edges.

I spray painted them white. Now here's where I might confuse you. Half of the plates (the big green ones) I then sprayed black.

I only have pictures for the big plates. I took the black plate and "painted" it with elmer's glue. Thinner layers of glue result in smaller cracks. Thicker glue equals thicker cracks.

I waited until the glue was tacky. You don't want it wet, but if it's dry the treatment won't work. Then I painted white craft paint over the top. Use broad strokes to avoid brush lines. Plus if you go over the same area twice you run the risk of removing glue with your paint brush. (I used black paint on top of the white base plates.)
It's super fun to watch the plates as the glue and paint dries. It only takes a couple of minutes for the cracks to begin to appear. The lower left plate was black painted on top of a white base. The other plates you see were white painted on top of black. I really prefer the darker color on top.

I bought the center medallions from Michaels. I just modge podged them on.
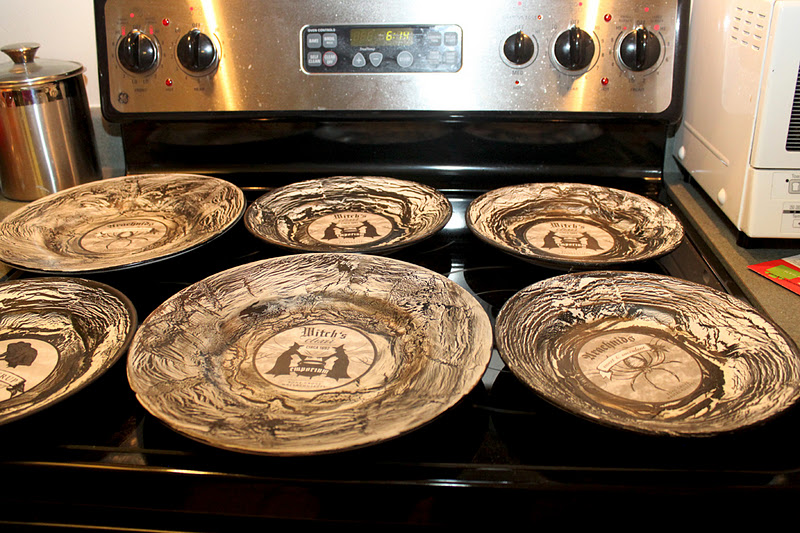
One of my favorites.

Side note: I wasn't satisfied with the way the big plates looked. The white paint made them look kind of cloudy. So I painted a thin layer of black over the top then gently buffed them with a paper towel. It gave them a different quality than the smaller plates but you don't notice from far away.

My last step will be to spray them with a glaze of some sort to keep them from disintegrating.
No comments:
Post a Comment